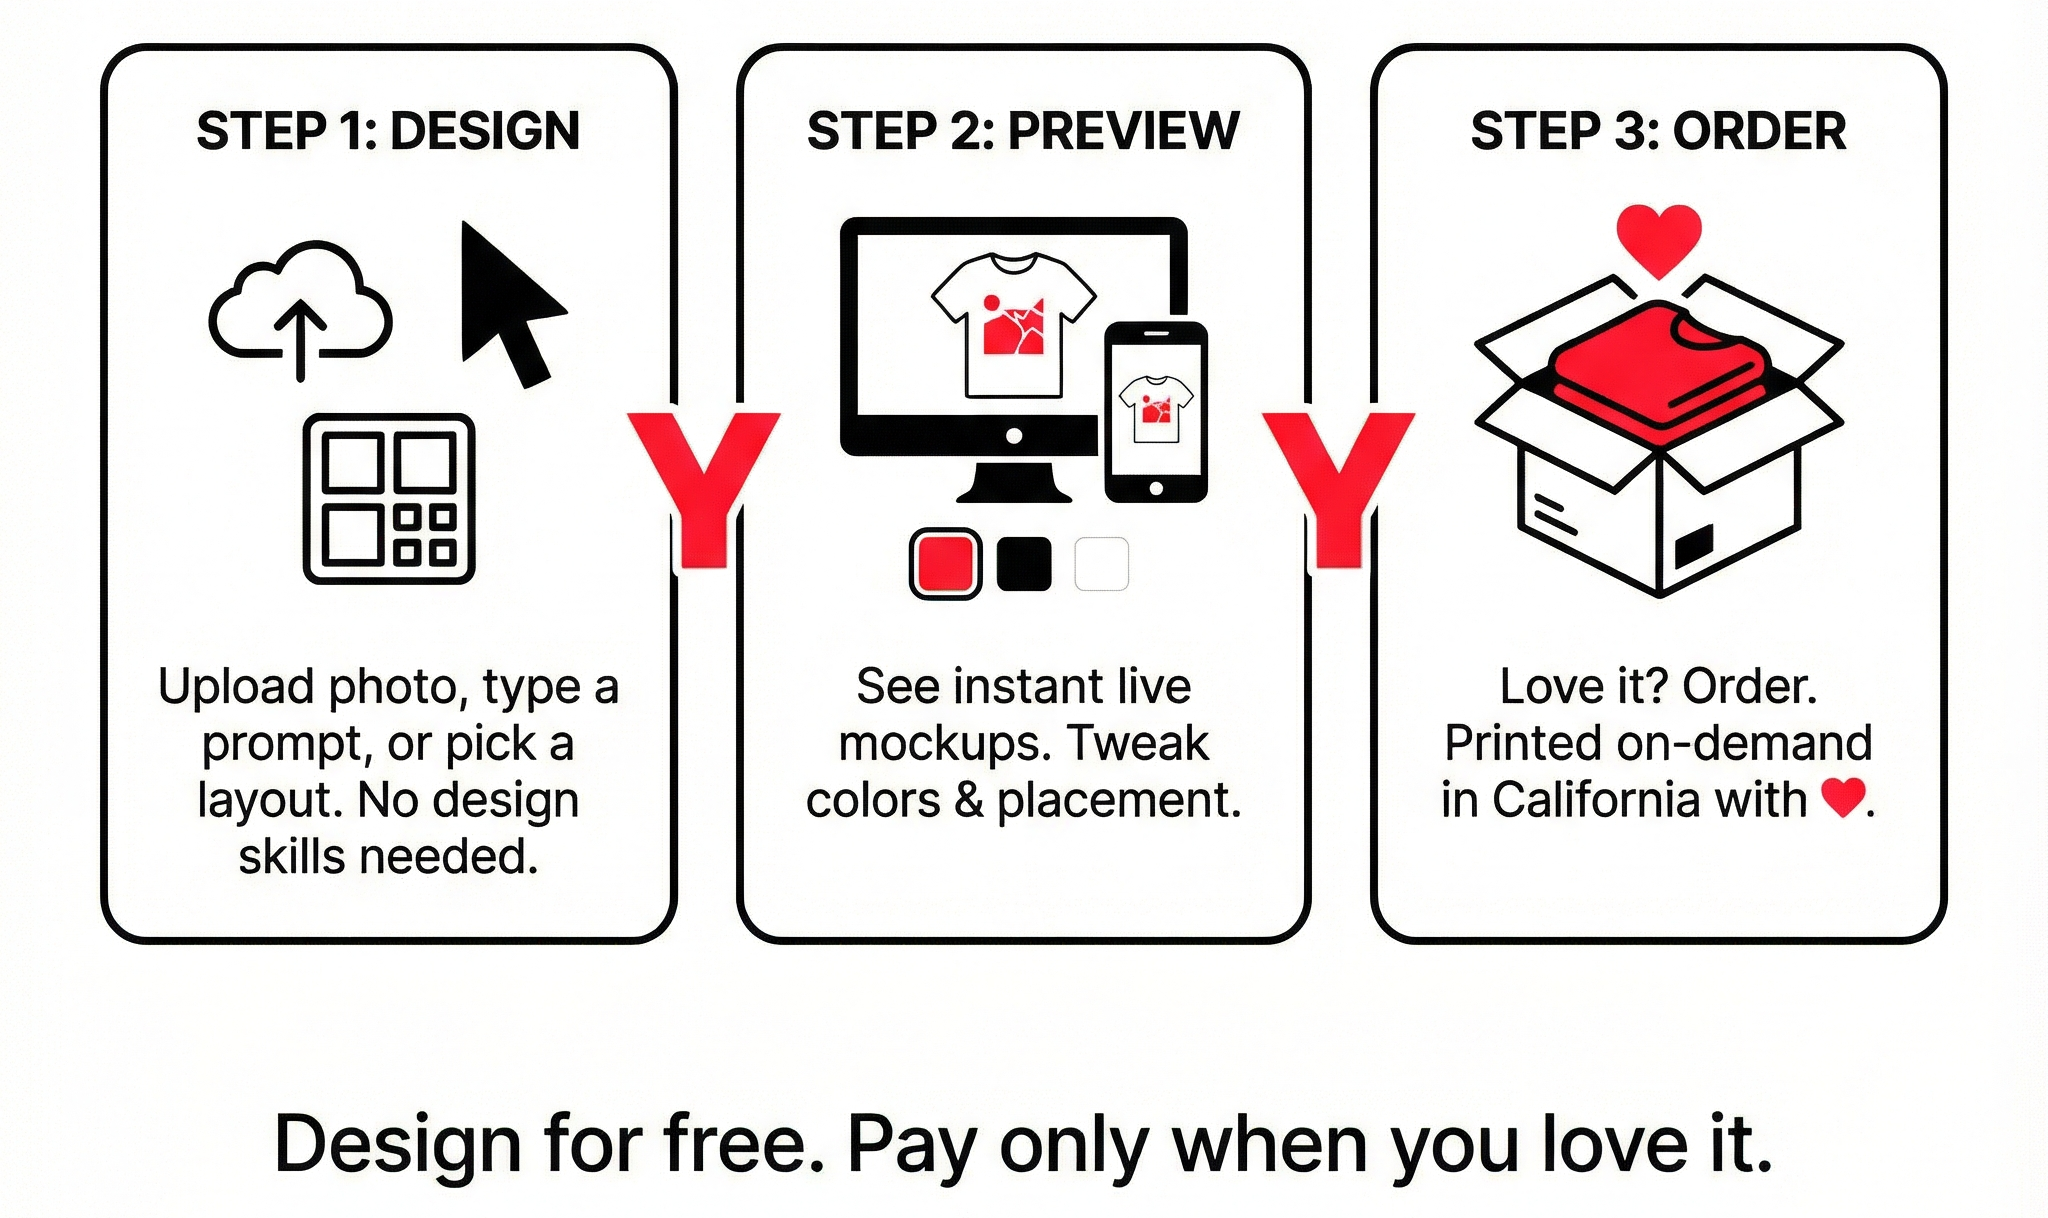
From idea to tee in three quick steps:
- 1 Upload, type or template
Drop in your photo, type a quick prompt or phrase, or browse ready‑made layouts to use as a starting point. - 2 See instant previews
Get smart mockups on tees and hoodies so you know exactly how it looks — in your chosen color, size, and style. - 3 Order when you love it
Place an order only when you're happy with every detail. Printed on‑demand in California with ❤️.
Step 1 — Upload, type, or start from a template
Every design starts with a spark. We make it easy to turn that spark into something real.
You can begin in three ways:
- Upload a photo or graphic
Use your own artwork, logo, doodle, or photo. Perfect for moments, memories, and personal creators. - Type what's on your mind
Start with a phrase, mood, joke, or short prompt. We'll help you lay it out so it looks clean and wearable, not messy. - Pick a ready‑made template
Short on time? Choose a layout that already has balanced spacing and structure. Replace the text, tweak the details, and you're done.
Quick tips for Step 1
- "Keep your main idea short and clear — one strong line beats a paragraph."
- "If you upload an image, choose a clear, high‑contrast version so it prints nicely."
- "Don't worry about "design rules" yet. Just get your idea into the editor first."
Step 2 — See instant previews
Once your idea is in, the TeeDIY editor shows you live mockups on real products.
In this step, you can:
- Change colors in one click
Try your design on different tee or hoodie colors and see what works best. - Adjust layout and text
Move elements, resize them, and switch fonts until it matches your vibe — simple, bold, playful, or minimal. - Zoom in on the details
Check alignment, spacing, and readability so you know how it will look when printed. - Explore variations
Remix your idea with different layouts or styles and compare them side by side.
And remember:
- Designing is 100% free.
You can try ideas, undo, redo, and explore as long as you like. You only pay when you decide to order.
Quick checklist for Step 2
- "Is your main text easy to read on the chosen product color?"
- "Does anything feel too small or too close to the edges?"
- "Would this still look good from a couple of meters away?"
Step 3 — Order when you love it
When your preview looks exactly how you want, it's time to turn it into a real item.
In this step, you:
- 1. Review the essentials
Double‑check product type, size, color, and quantity for each person who'll wear it. - 2. Confirm your design
Make sure you're happy with the final preview — this is what we'll print. - 3. Add your shipping details and place the order
You'll see the full price before you pay, with no surprise design fees.
What happens next:
- Your design goes into our on‑demand production flow.
- Each item is printed only when it's ordered — no old stock, no pre‑printed leftovers.
- Your tees or hoodies are printed in California with care and shipped to your address.
- You'll receive updates so you can see when your order is on the way.
Good to know:
You can save your favorite designs to your account, so it's easy to reorder or tweak them later.
Design faster on TeeDIY: simple tips
Want to go from idea to finished design even faster?
Here are a few ways to make your first experience smoother:
- Start with one clear idea.
Decide what you want the tee to "say" — a word, a line, or a mood — and build around that. - Let templates do the heavy lifting.
If you're not sure about layout, begin with a template and only change the parts that matter to you. - Choose your tee color early.
It's easier to pick text and graphic colors once you know the background. - Use fewer fonts and colors.
1–2 fonts and 2–3 colors usually look cleaner, more modern, and are faster to finish. - Preview like it's real.
Imagine someone actually wearing it: can you read the text, and does the design feel comfortable to look at? - Save versions as you go.
If you like two options, save both. You can come back later and order the one that still feels right.
Good to know about TeeDIY
A few quick points to keep in mind while you're using TeeDIY:
- No design skills needed — everything is built for everyday users.
- The entire design process is free — you only pay when you order.
- You can start from just one item — perfect for yourself, a friend, or a small group.
- Everything is produced on demand — helping avoid unnecessary waste and old inventory.
Ready to try it for yourself?
You bring the idea. We'll help you turn it into something you'll actually want to wear.